UPSB v3
Tutorials Pending Approval / MSRY MX tutorial.
aka Misery's MX.
-
Date: Sun, Feb 8 2009 06:51:40
Okay! Let's get started.
Seriously, read this:
Spoiler:
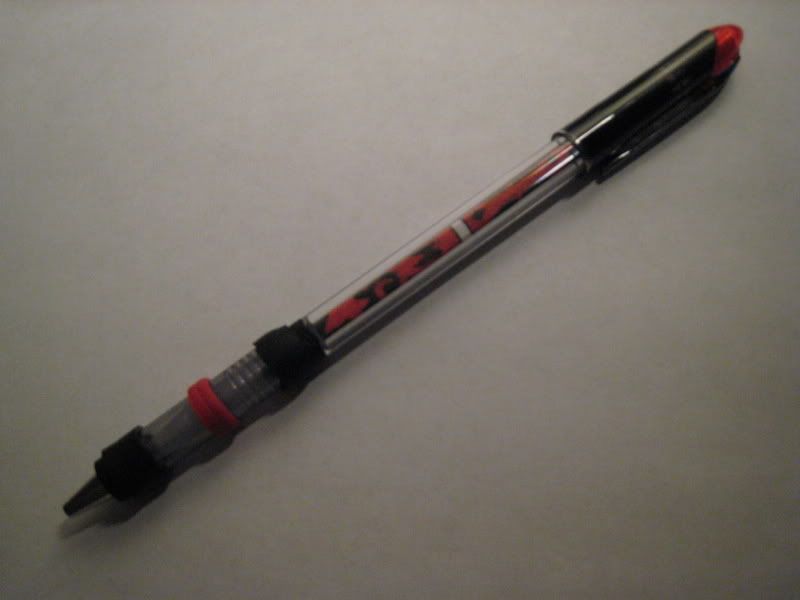
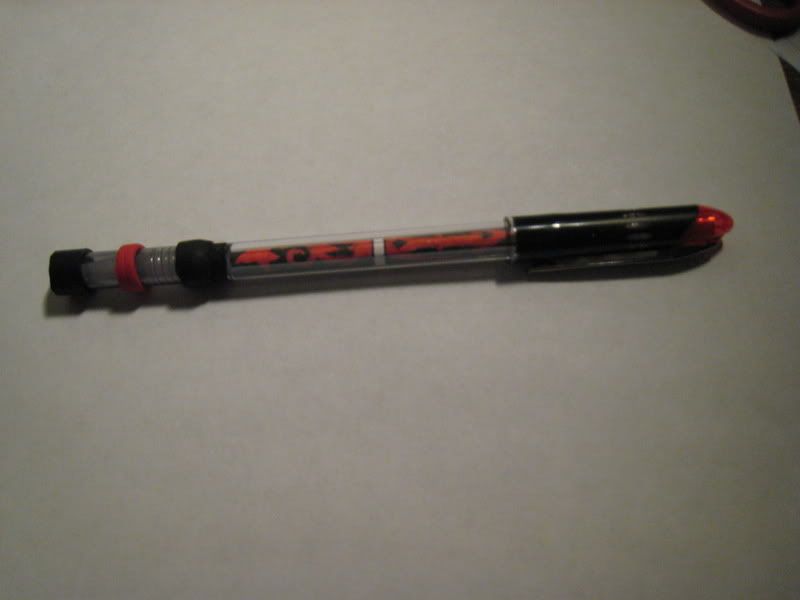
Preview of Product:
Spoiler:
^Optional: You can put an insert under the G2 Barrel located where the grip is. I didn't, because I was too lazy to make another insert, but you can.
*Optional: Cover the ungripped parts of the G2 Barrel with Dr. Grip grips. As I don't have any right now, I can't do it. Make sure you post pictures if you do~
Statistics
Length: 7.6 inches
Weight: N/A ( No balance / scale )
CoG = A bit under the CoP. Differs according to grips you use.
Edit: Sorry, forgot to add the rest of the statistics.
Name: MSRY MX
Style: Single Ended
Writing-Mechanism: Backwards.
Ink-Type: RSVP
Estimated-Cost: $3, more if you're using expensive grips. (Dr. Grip)
Tools and Items
Spoiler:
Tutorial
Let's Begin!
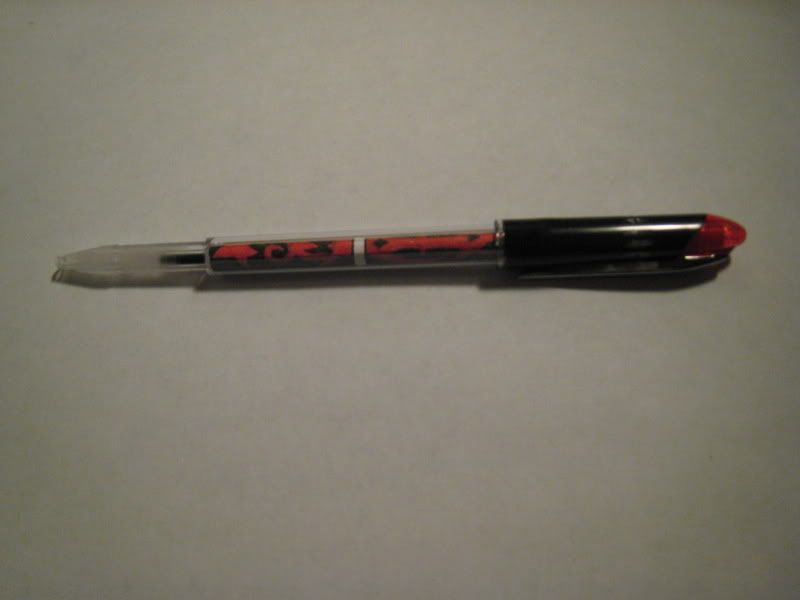
1.) Dismantle your RSVP. Keep the Body, Endcap, and Inktube. Take the cap off of your Uni-Ball Vision Elite. Even though you don't need the rest of the Uni-Ball, keep it. It writes really well.
http://i23.photobucket.com/albums/b397/xYashii/MSRY002.jpg
Drill a hole in your endcap big enough for the tip of the ink filler, and shave it down until it fits snugly into your Uni-Ball Vision Elite cap.
Wrap your insert around the inktube, and insert it backwards into the RSVP barrel. Screw on the endcap, and fit the Uni-Ball cap over it.
http://i23.photobucket.com/albums/b397/xYashii/MSRY003.jpg <- Hand Drawn. I have yet to get my printer's Color Cartridge replaced. ;_;
Wow, we're already 50% done. I'd better start dividing up the rest into more steps.
Progress:
Spoiler:
2.) Dismantle your G2. Keep the barrel and grip. Shove the remainder into your Unused Parts Bin (aka Trashcan, for some).
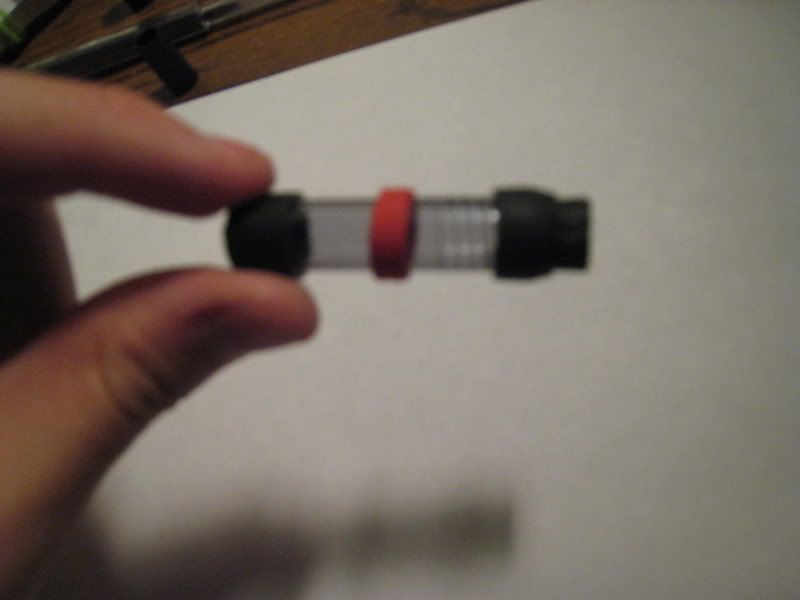
Cut the G2 Barrel to slightly over 1 + 1/2 inches using your Wire Cutters. Refer to DarkArcher's tutorial on how to cut G2's. http://i23.photobucket.com/albums/b397/xYashii/MSRY004.jpg
Sand/File your RSVP's front end, where the ridges are, until you can slide the G2 Barrel over it smoothly.
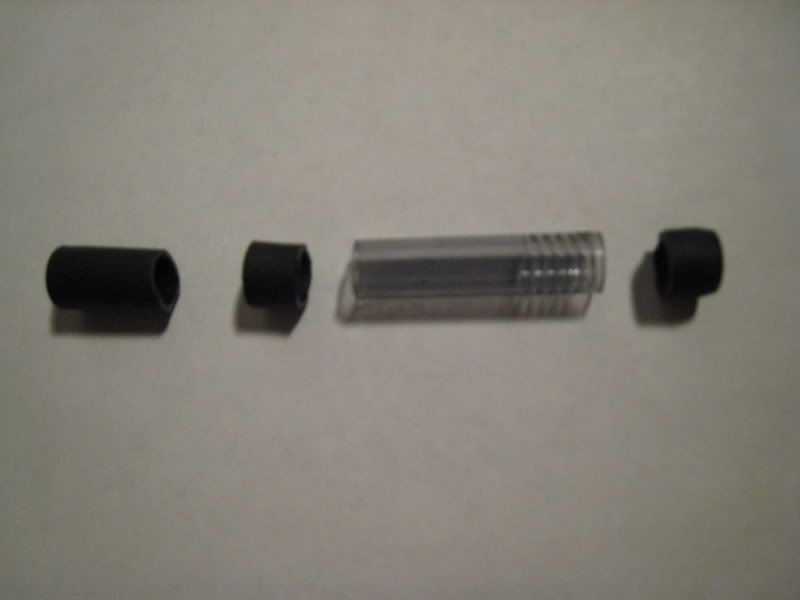
3.) Grab your Grips! Cut two pieces from the front of your e-Gel Grip. Each piece should be a little less than 1 cm.
Spoiler:
Throw away / storage the largest of the 3 grip pieces, and attach the 2 pieces on to the G2 Barrel as shown in the above picture. Only put the grip on HALF WAY for the side with the threads, and 2/3 of the way on for the side without threads.
Optional: Cut a 2-line section from a G2 Grip, and put it over the middle of the G2 Barrel.
4.) Get your Grip that is smaller in width than the e-Gel grip, [aka Not-eGel Grip]. Cut a piece slightly less than 1 cm from it, and put that under the e-Gel grip that's on top of the G2 Barrel side with threads. ( Confusing? ) Half of the not-eGel grip should now be visible, while the other half is under the e-Gel grip.
Spoiler:
5.) Do the same with the other end of the eGel-wrapped G2 Barrel, except this time only cut off about 1/2 cm from the not-eGel grip.
[OPTIONAL: Fill the ungripped areas of the barrel with Dr. Grip grips.]
Now slide the G2 onto your MSRY MX Body, threads first. Glue it down if it's loose.
[Now would be the time to put in your Grip Insert, if wanted]
Progress:
Spoiler:
Almost There~
6.) Dismantle your Sanford SAGA -medium-, and throw out everything except the tip.
http://i23.photobucket.com/albums/b397/xYashii/MSRY015.jpg
Either wrap tape around the threads at the bottom of the tip so it fits tightly, OR apply a good amount of glue, and insert it into the open end of the G2 Barrel. The grips added in steps 3 + 4 should be overlapping a bit with the tip.
7.) Glue down any loose parts. Superglue works great. Don't use too much glue, we want this to look good still.
8.) Post Pictures. I'm eager to see how yours turned out, especially if you added the ~Optionals~.
You're Done. Congratulations.
Also, I would appreciate it if somebody with a scale / balance would measure the weight of theirs.
Edit: This is just an MMX variation. Sorry about that mistake.
~M. -
Date: Sun, Feb 8 2009 15:47:31
i have to say, after seeing so many noob mods, this mod has ok name.
-
Date: Sun, Feb 8 2009 15:47:48
looks cool. for like a subbed mmx then a new mod though. you could try removing the clip on the cap cause some spinners think it gets in the way. also is that tip like a flexigrips?
-
Date: Sun, Feb 8 2009 16:57:03
I'm not sure about the flexigrip, but if it has the threads on the back it should be okay to use.
I have yet to find a way to remove the cap's clip, nor will I try it, for fear of breaking the cap.
Thanks for your constructive criticism, too.
-
Date: Sun, Feb 8 2009 17:00:58
An MMX with a different cap does not equal a new mod.
Before posting a tutorial for a new mod, post the pen in show off your pens first. Once you get enough requests from the public, then you can make a tutorial for the mod. This way, you didn't waste your time making a tutorial becuase people will actually make your mod.
