UPSB v3
Tutorials Pending Approval / MP Ayatori
by Ilvdrftng
-
Date: Tue, May 26 2009 06:29:17
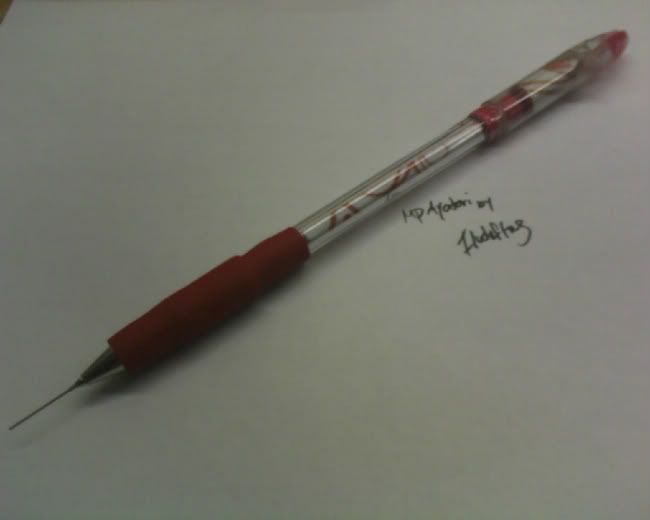
MP Ayatori by Ilvdrftng
--
Well, the title explains it all, this is a tutorial on how to make a MP Ayatori.
Be gentle guys, this is my first tutorial D:
I, however, do NOT expect this tutorial to be approved, just wanted to post a tut on how I made mine
I apologize for the blurry pics, my phone camera isnt the best
Lets begin, shall we?
--
[COG]: Center of Pen
[Length]: ~20.5 cm
[Weight]: ~16g
[Style]: Single-Sided
[Writing-Mechanism]: Mechanical pencil
[Ink-Type]: 0.5 lead
[Estimated-Cost]: ~12$
[Materials List]:
1x Uni Lakubo (except inktube)
1x Uni Laknock (grip)
2x Uni Signo Gels (tips)
1x Zebra Hyperjell (grip/cap)
1x v3 Mechanism (I used Double Action)
1x empty thin inktube (RSVP or lakubo inktube, I used flextip inktube) (not shown)
1x HGG (backplug) (not shown)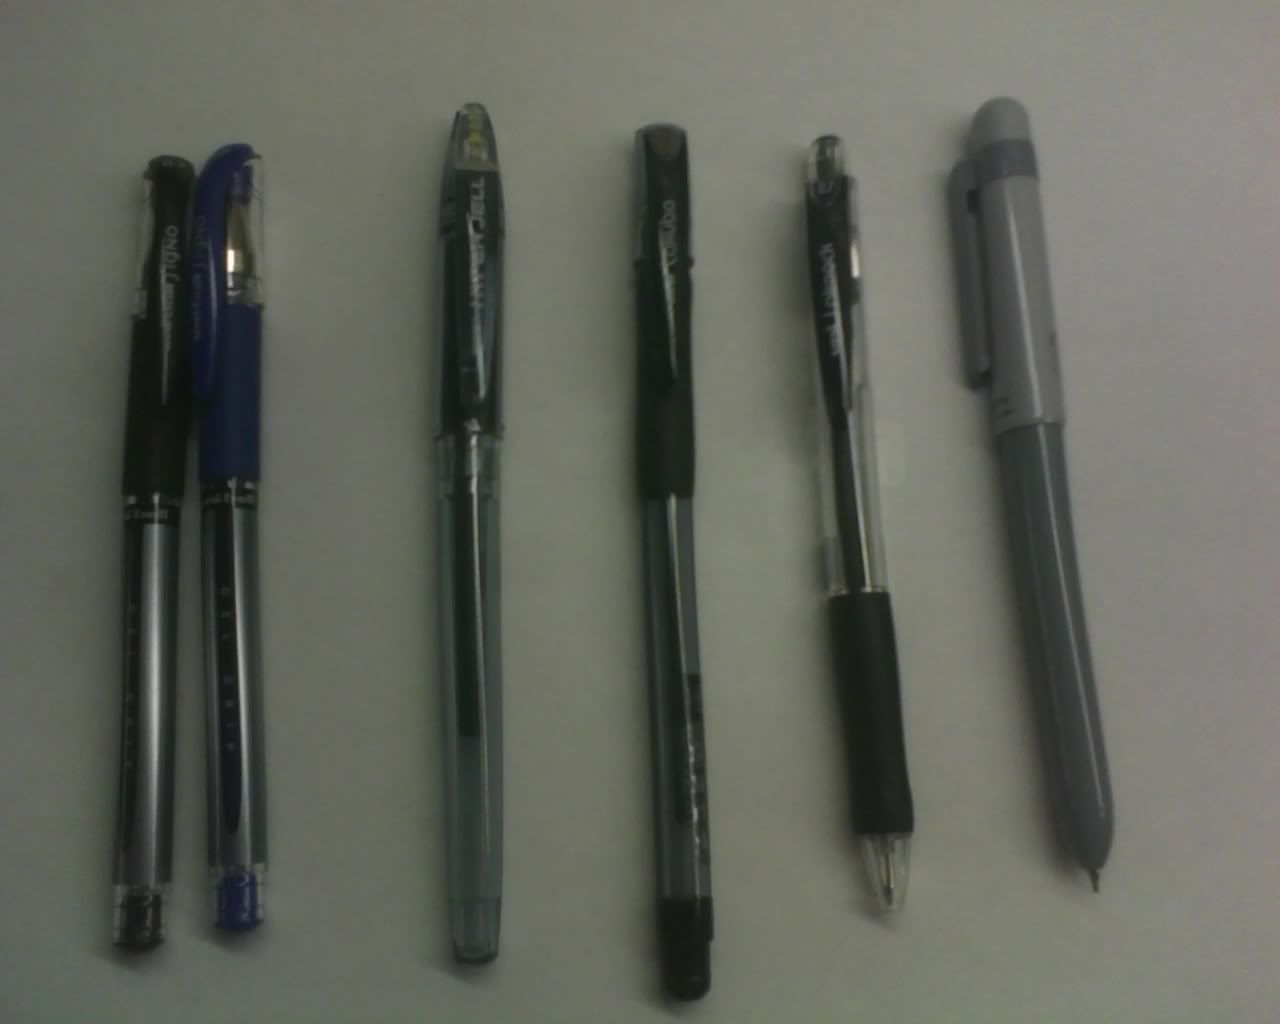
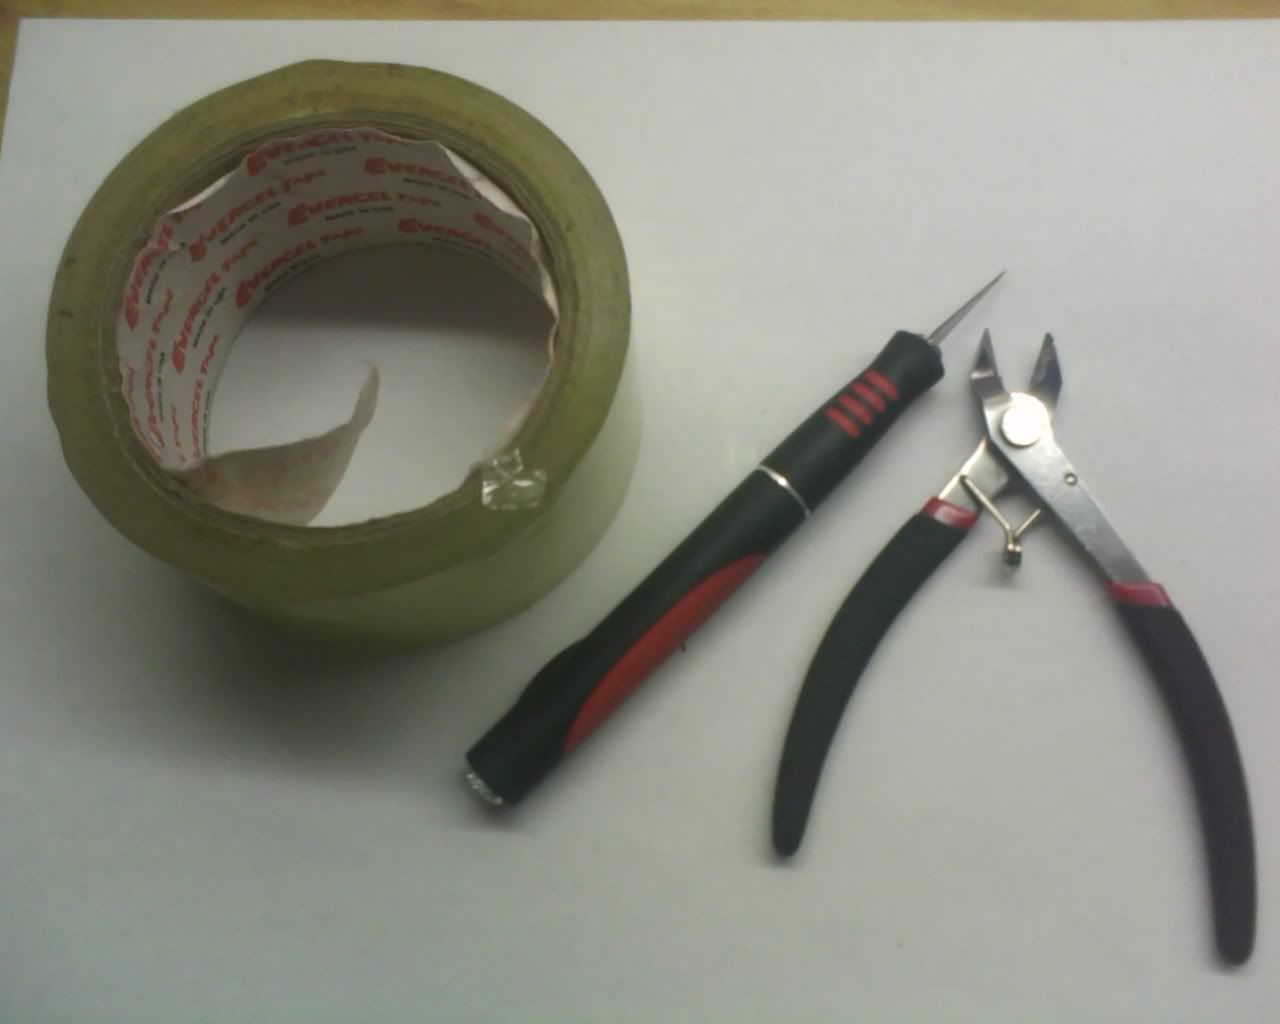
1x Wire cutters
1x X-Acto knife
1x Roll of PACKAGING tape(others will NOT work)
1x Drill
--
[Tutorial!] :
1 Gather all the pens needed, and take what is necessary. Put the part not needed to the side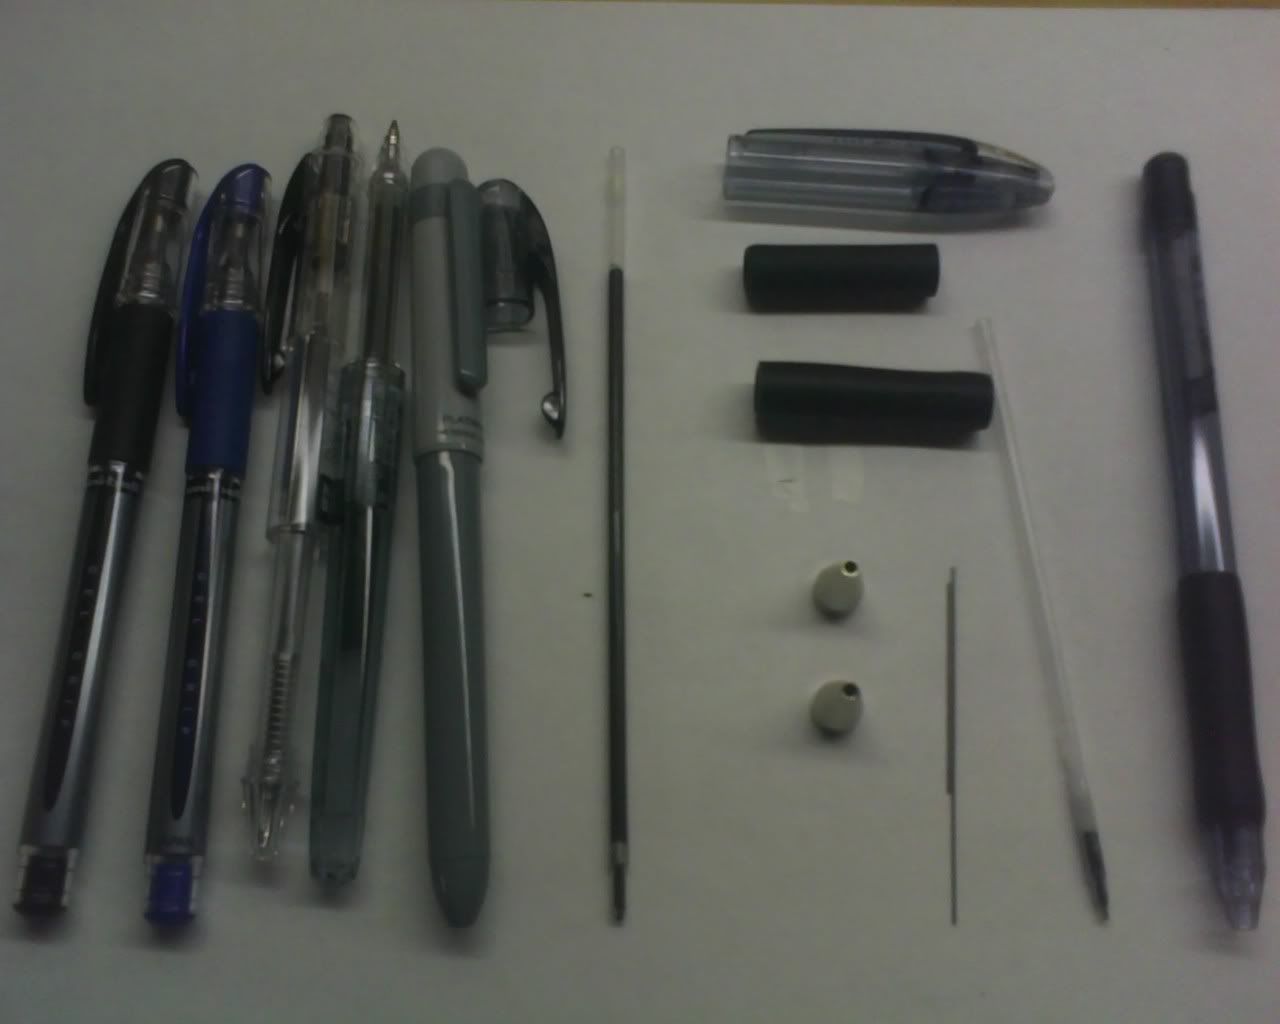
--
2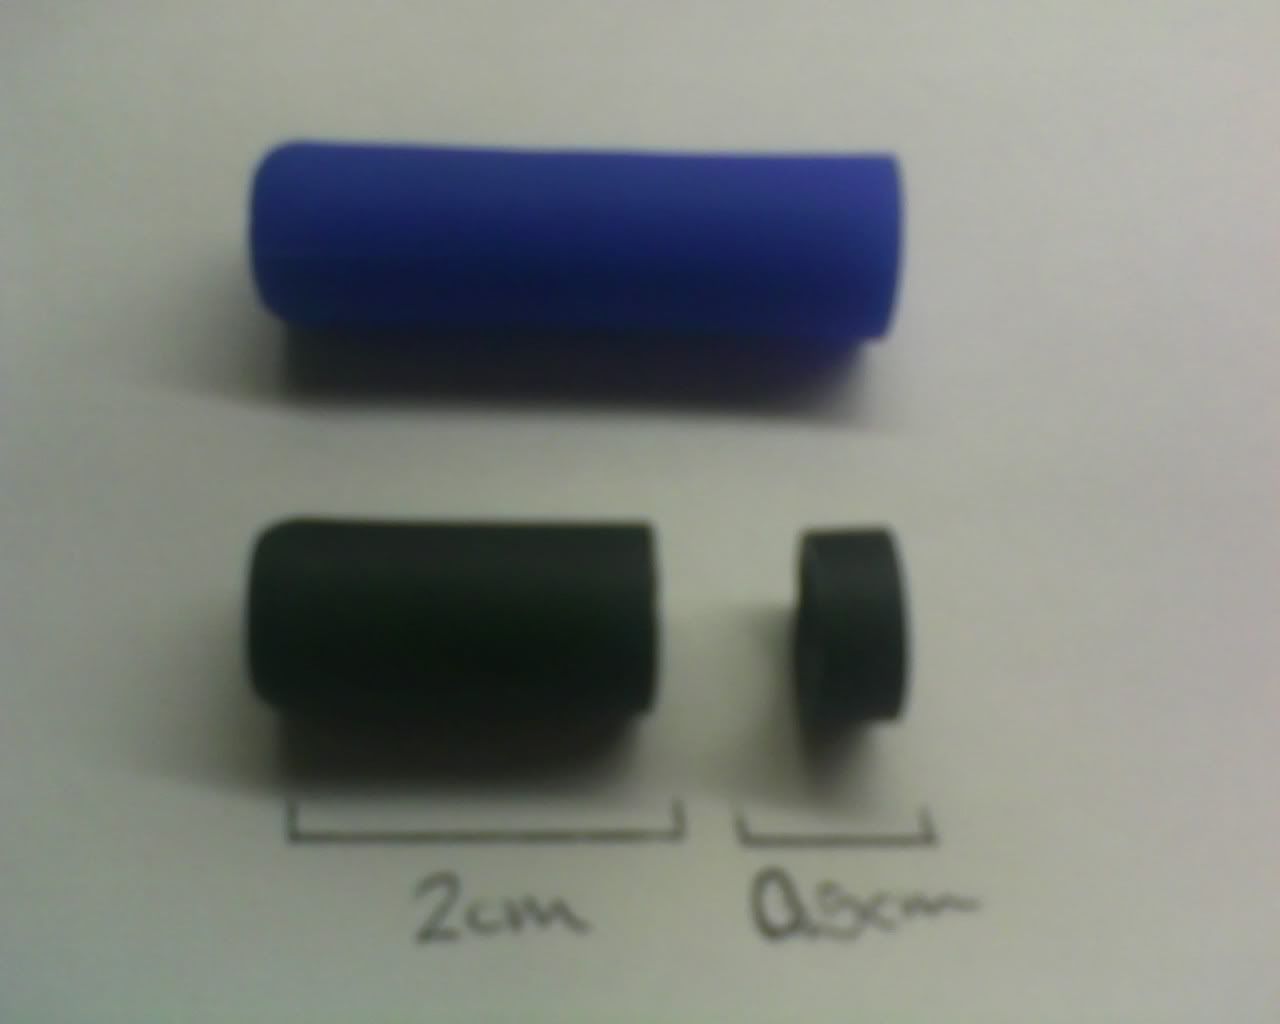
Take the Hyperjell grip and cut it at 2 cm from the end, and 0.5 cm from the remaining section from where you cut last. The blue Jimnie grip is the original grip opposed to the cut black grip you are going to use
3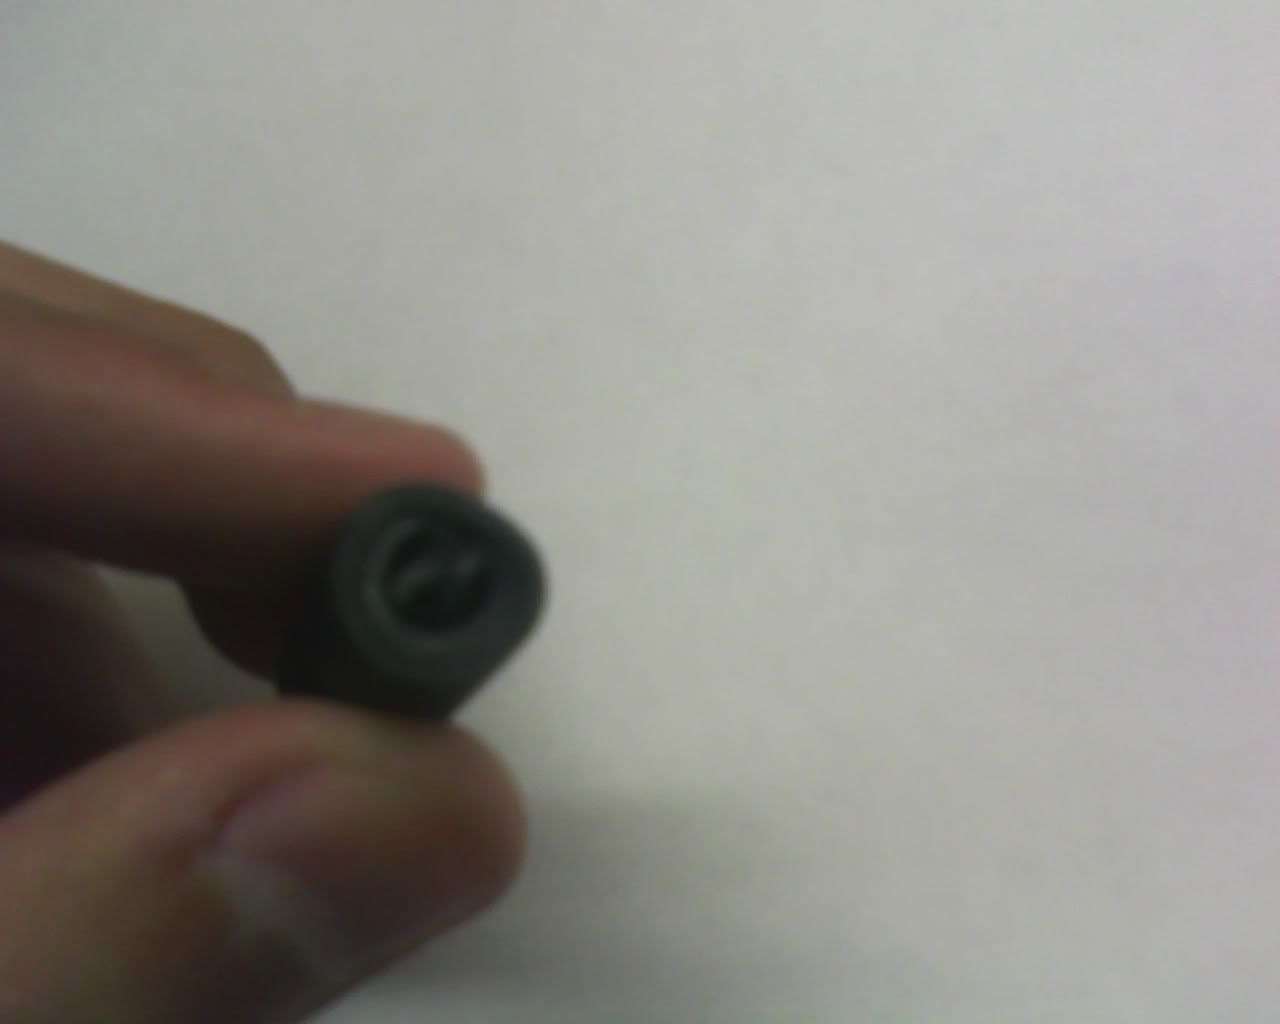
Take the small portion of the hyperjell grip and stuff it into the 2 cm portion like so, not pushing it all the way in for the HGG backplug to fit in
4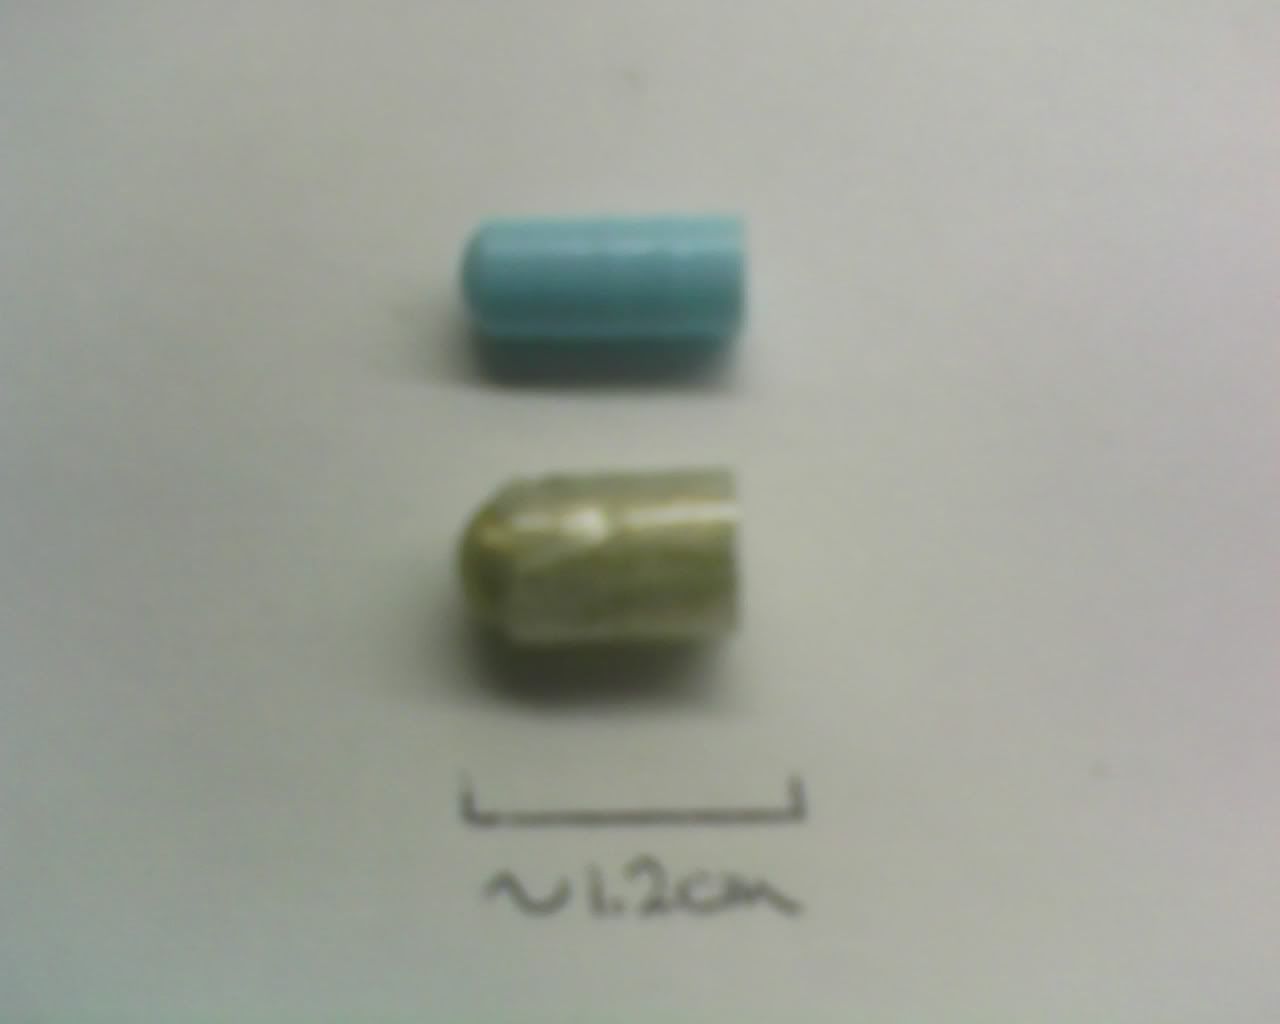
Take your HGG Backplug and cut it so it to ~1.2 cm and wrap a few layers of tape on so it will fit snugly in the hyperjell grip. The gold HGR Backplug is used as reference.
5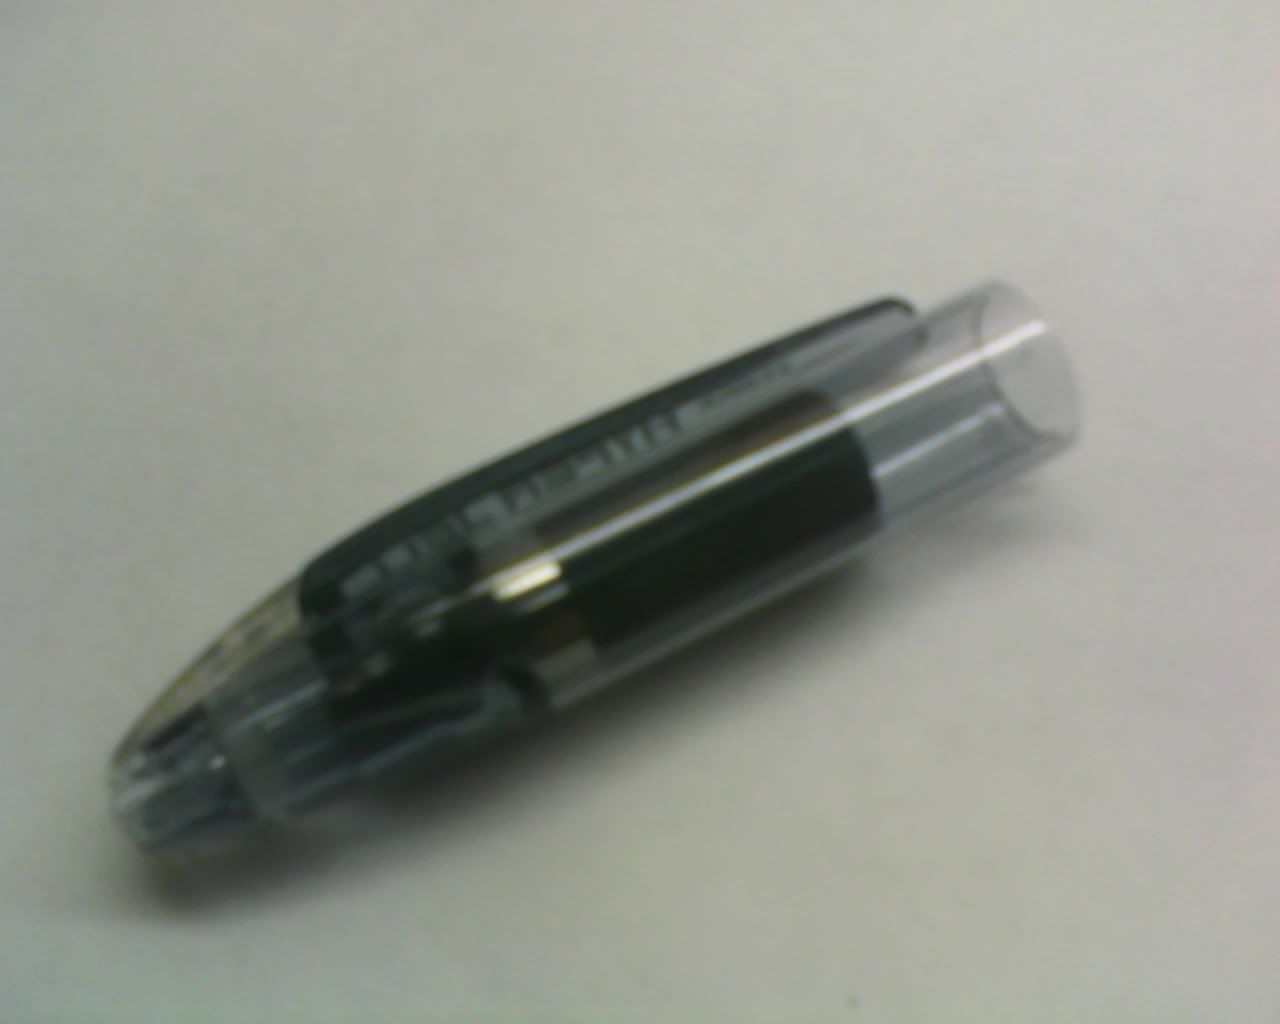
Put the HGG backplug in the remaining space left from the Hyperjell grip, make sure it fits snuggly and does not move out. Tape may be applied to the Hyperjell grip to make sure the whole section does not come out when you take the cap off to put in lead.
The cap is finished!~
Ill have to post the rest tommrow, sorry >_< -
Date: Tue, May 26 2009 11:58:28
is this heavier than the normal ayatori???
-
Date: Wed, May 27 2009 00:06:20QUOTE (Shrouded Figure @ May 26 2009, 04:58 AM) <{POST_SNAPBACK}>is this heavier than the normal ayatori???
Nope, exactly the same weight, a little backheavy maybe
Continuing the tutorial, making the body:
6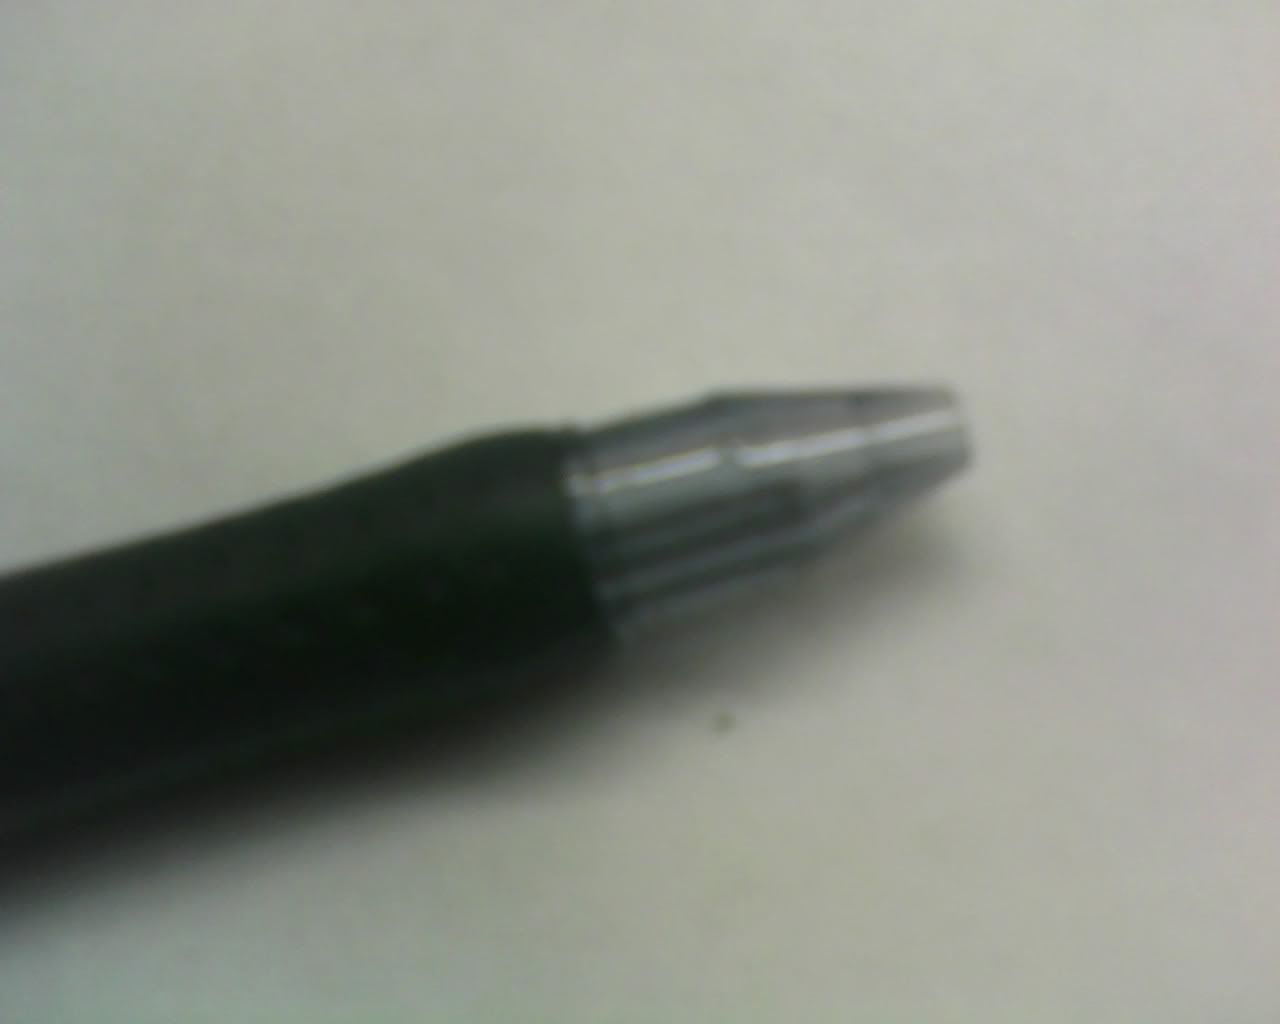
Take your Lakubo body, and cut it until you reach the nubs going straight out. The first picture is the original Lakubo body, and the second picture is the cut body: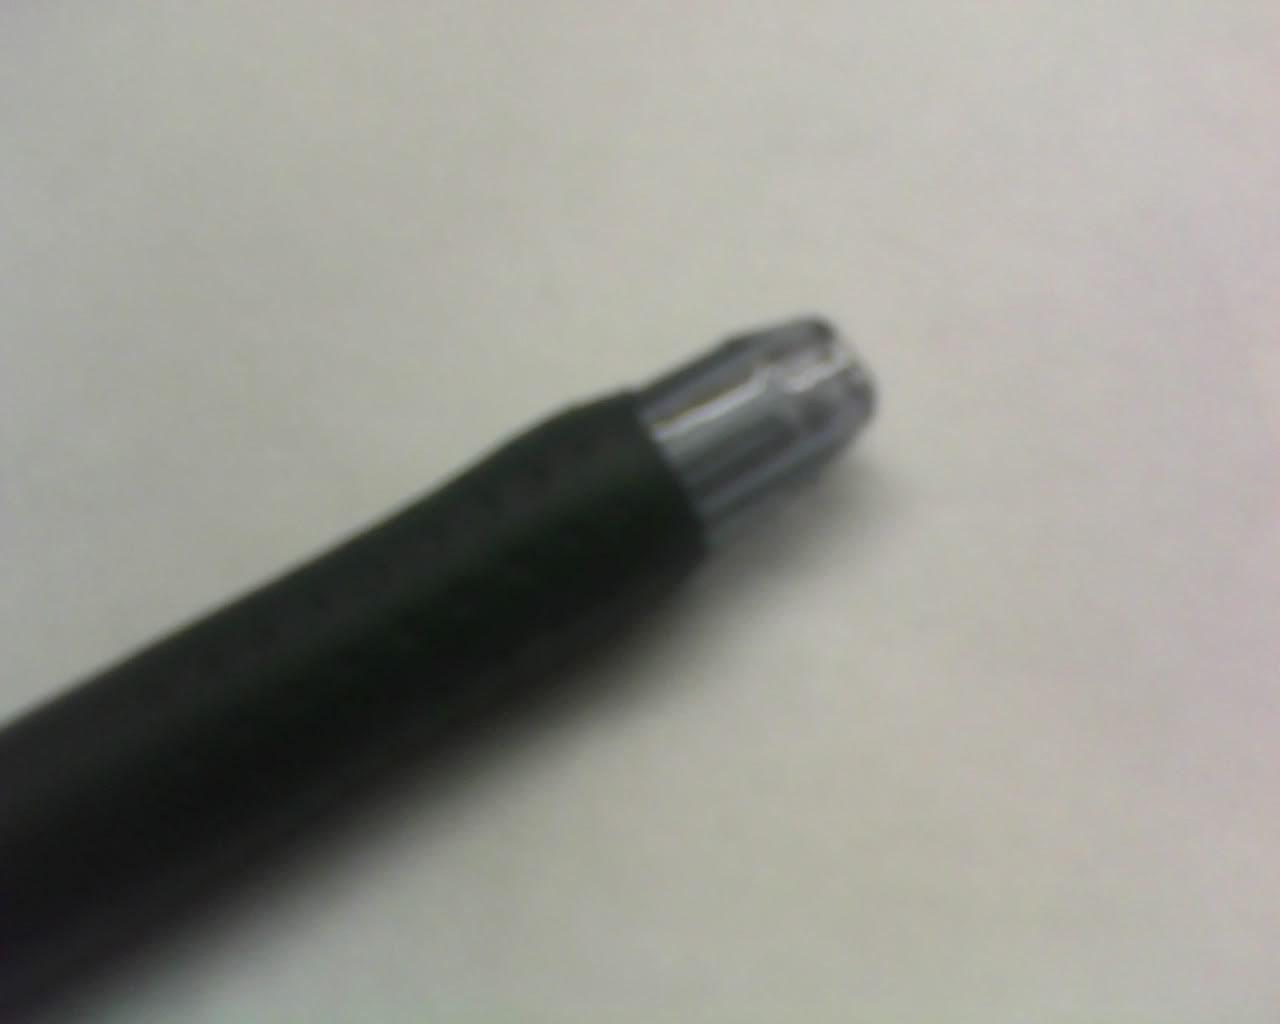
7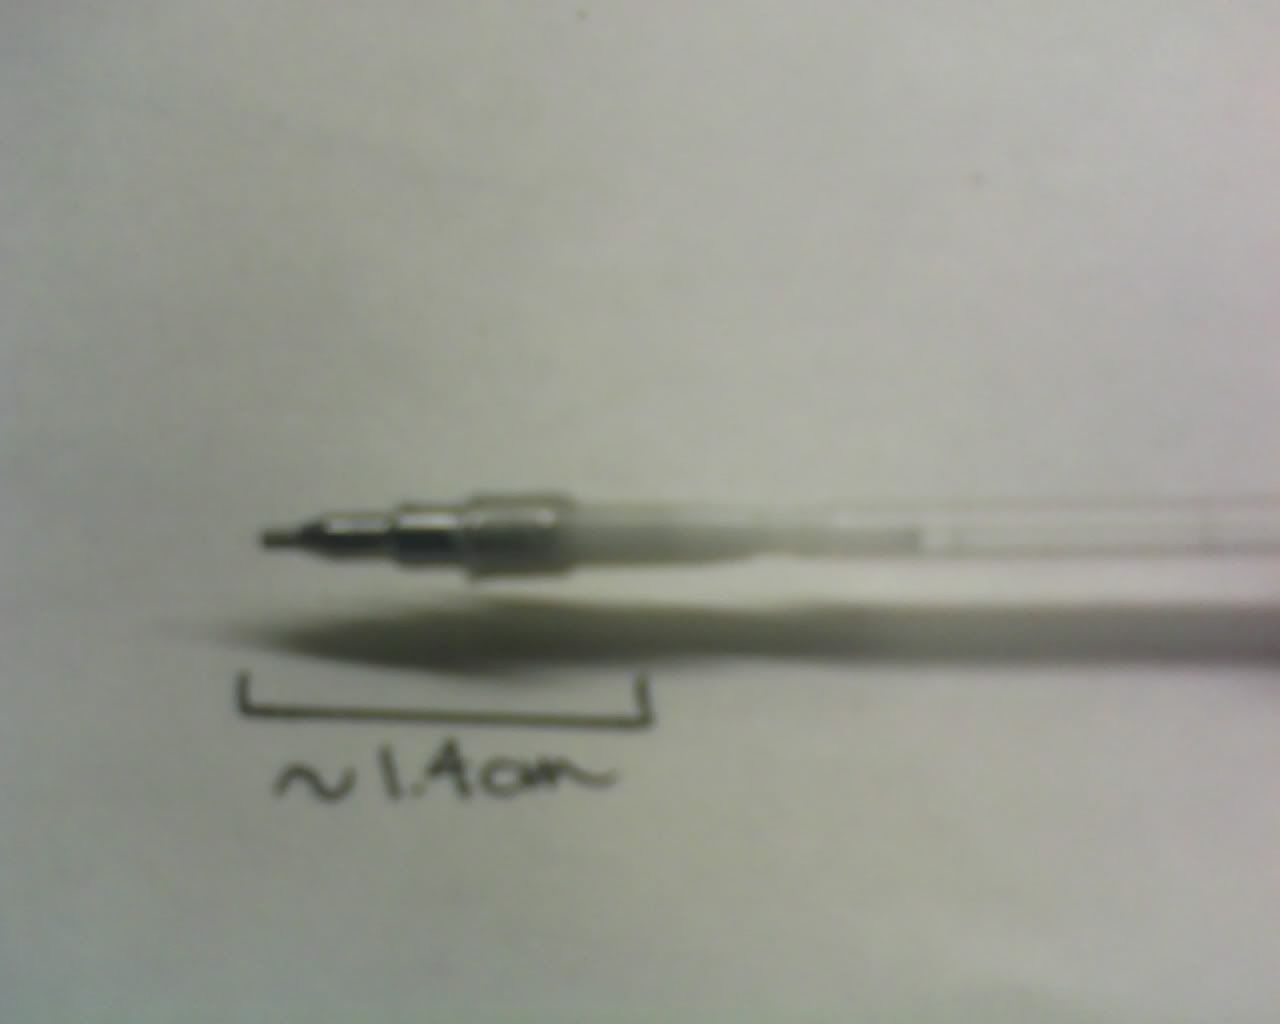
From the metal tip of the mechanism, apply tape ~1.4cm, you may add as much tape as you want according to your personal preference, and cut as much tape as you need
8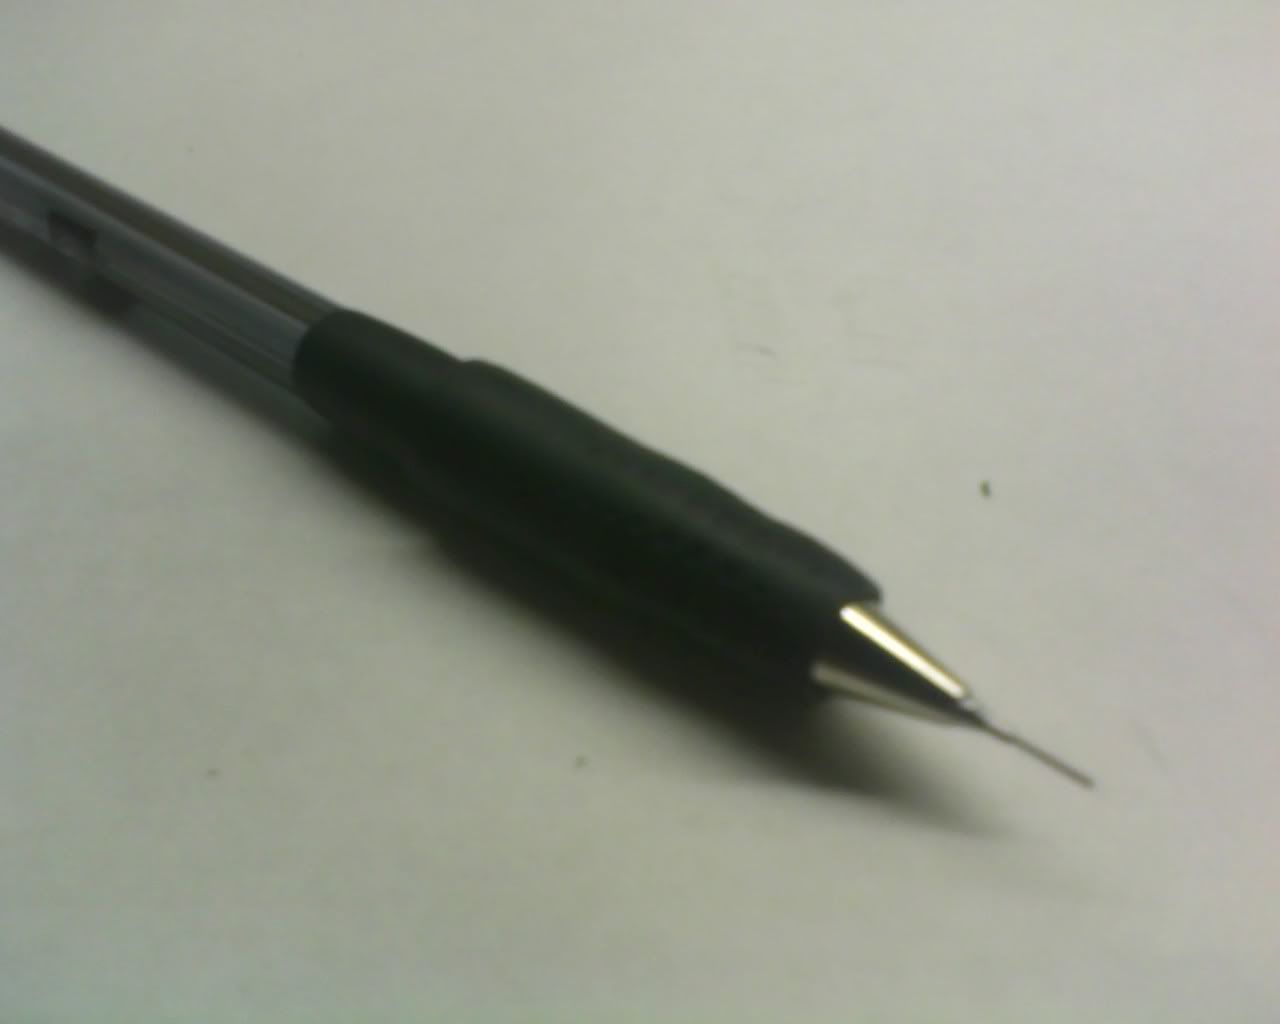
Taking the mechanism, tape the extra inktube onto the mechanism and stick it through the front.
Once in, place your signo tip on top of your mechanism, and TAPE down the signo tip onto the Lakubo body.
Scotch tape will not work, as the signo tip will fly off when you click (I tried D: ) From there, place the Laknock grip on top.
9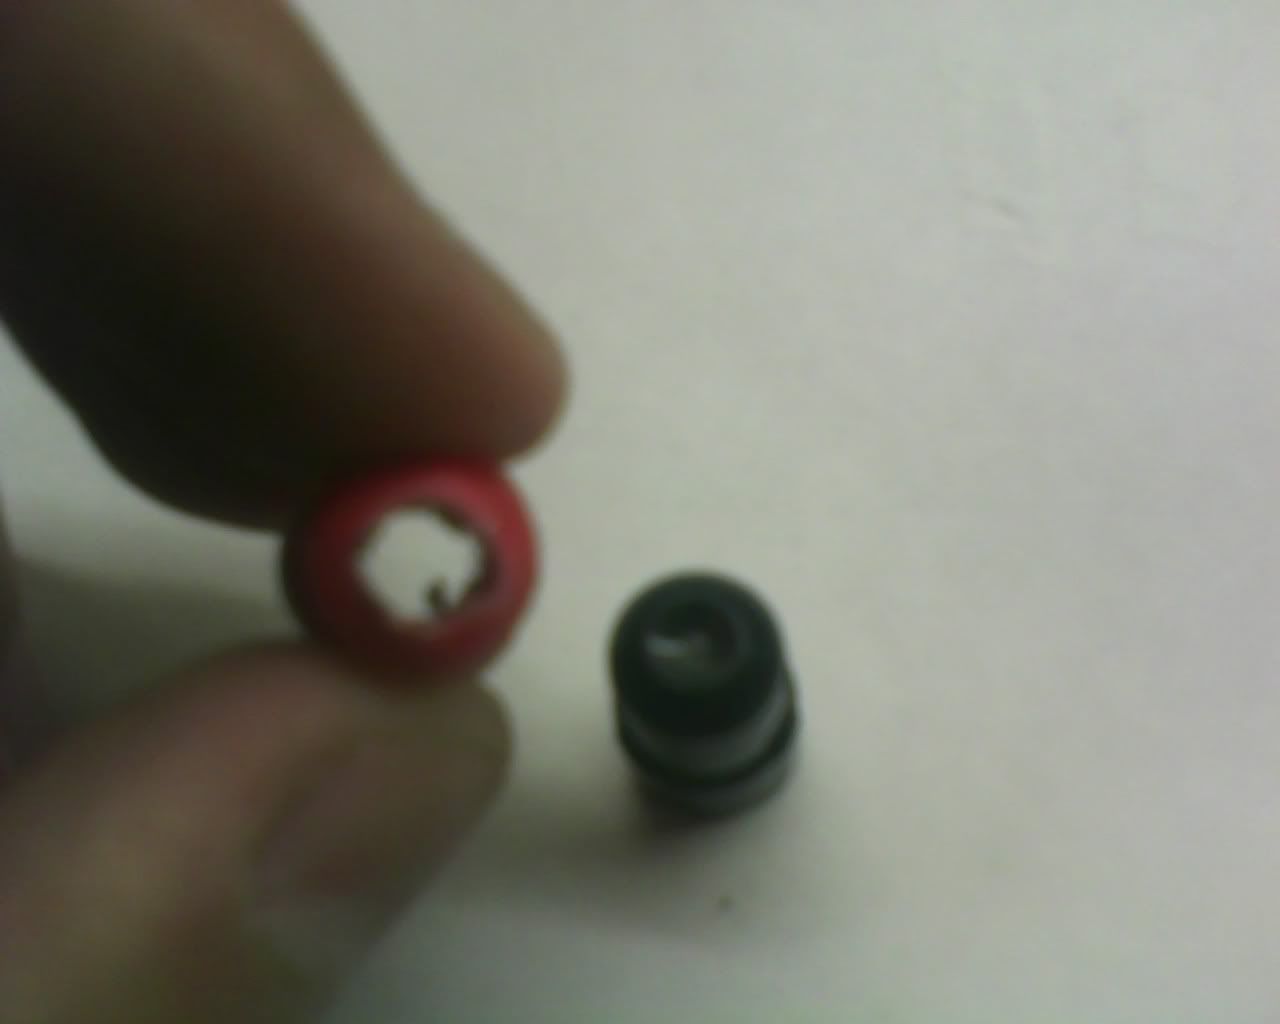
Now that you have your front part of the Ayatori mod finished, we're going to work on the backpart.
Using your drill, bore a hole into the Lakubo backplug. The red backplug is the the bored (board?) backplug, and the black is the original backplug.
Test your MP here to make sure the inktube moves freely and if the mp works correctly.
Apply tape to the back of the inktube so that it fits snuggly in the HGG backplug and does not fly out when spinning, but loose enough that you can take the cap off without the whole inktube and/or Hyperjell cap coming off when inserting lead.
10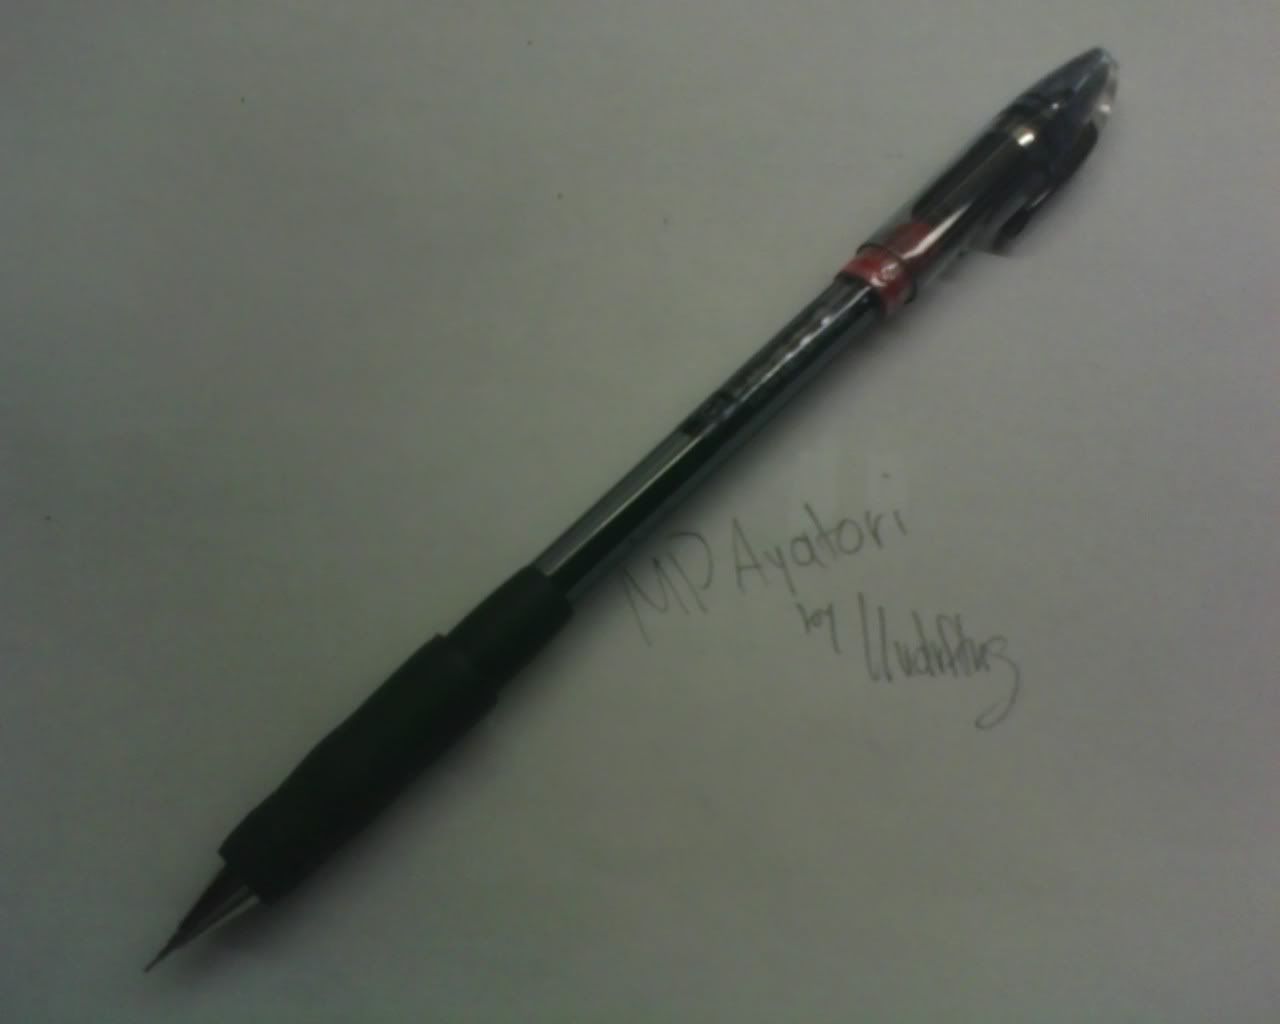
Stick the cap on, make sure it clicks, and you have just made yourself a MP Ayatori mod
Has fun now
Pros
- Looks exactly like a regular Ayatori
- Quite sturdy
- Sufficent weight
- Just 2 or 3$ more than a regular Ayatori mod(:
Cons
- Cap might fly off if you dont put enough tape
- Requires quite an amount of tape ):
- May be back heavy from the compression of Hyperjell grip
Q&A
1)The Hyperjell grip comes off when i try to take it off the cap
a: Apply more tape to the Hyperjell grip, and then insert it. This takes some trial and error
2)The Signo tip came shooting out at me and I got hurt ):
a: Take off the Laknock grip, and make sure you used packaging tape to tape down the signo tip onto the Lakubo grip
3)Is your Q&A going to be like everyone elses where it tries to be funny?
a: I tried not to, and its not intended to be funny.
Has fun now guiz
-
Date: Wed, May 27 2009 00:29:43
Yay Colin, good tutorial!

Looks great, more stable and visually appealing than my version. XD -
Date: Wed, May 27 2009 00:30:27QUOTE (dori @ May 26 2009, 05:29 PM) <{POST_SNAPBACK}>Yay Colin, good tutorial!

Looks great, more stable and visually appealing than my version. XD
Thanks Dori!
Yours was WAAY more stable >_< -
Date: Sun, May 31 2009 10:26:57
lols the double action mp mechanism is getting more and more used in making mp mods..
-
Date: Sun, May 31 2009 21:54:43QUOTE (BlacknWhite @ May 31 2009, 03:26 AM) <{POST_SNAPBACK}>lols the double action mp mechanism is getting more and more used in making mp mods..
Its cheap and effective >_< -
Date: Mon, Jun 1 2009 13:17:15
lolz, cool though, mp ayatori.
-
Date: Thu, Jun 18 2009 19:47:52
hi