UPSB v3
Tutorials Pending Approval / Tushix G3 mod (re-uploaded)
and added improvement
-
Date: Fri, Oct 23 2009 08:28:01
SORRY THE PICS ARE A BIT OFF WHEN IT COMES TO THE TIPS BECAUSE I SWITCHED TO HGG TIPS INSTED OF SUPERGRIP AFTER MAKING THE TUT. SINCE DOING THIS, IT HAS GOTTEN SHORTER, MORE BALENCED, STURDIER AND HAS A MORE COMFORTABLE INFINITY AREA!
OK... so I had some spare time today and I made this withing 20mins xD. I was amazed at how well it spins so here it goes
STATS:
COG=COP (or a tiny bit off, IDK. It feels good xD)
Length: 19cm
Weight: 13.5 grams
Cost: $10
Difficulty: Medium-Hard
Before you even start putting it together, here are the parts:
x1 G3 (plastic tip version)
x1 RSVP grip
x2 HGG grip
x1 HGG tip
x2 signo tips
Lets go!
1. Start by taking off the clip of the G3 cap and then grinding down the little thing remaining to make a smooth cap. Also take out the little rubber thing inside the cap.
2. Now take off the tip and cut off the grip from the G3. You have to grind all 8 nubs remaining and also sand down the large lump before where the tip was. You have to be careful when doing this so that you have the threads for the tip still there. Now you've done that, put lots of cello tape on the back of the G3 to make the cap stay on. Cut off excess. You may also want to put an insert in now.
[img]http://i607.photobucket.com/albums/tt157/tushix/CIMG3513.jpg
[/img]
3. Now I'll tell you how to cut all of the grips.
1st HGG: Cut it directly in half.
2nd HGG: Cut a small amount off the non-ring part. You'll have to tweak it to your liking when putting it in the back cap.
RSVP: Cut slightly off each side to get just the even inner part of the grip, not the ring or the sloping down part.
4.Here is what the grips should look like (minus the HGG at back). Now you want to get the tips done. Take your G3 tip and put cello tape around the end part (where you write). Now screw on the HGG tip. repeat on the HGG to get the signo on.[OPTIONAL] Now take a wide strip off tape and tape all 3 tips together to give it the extra support.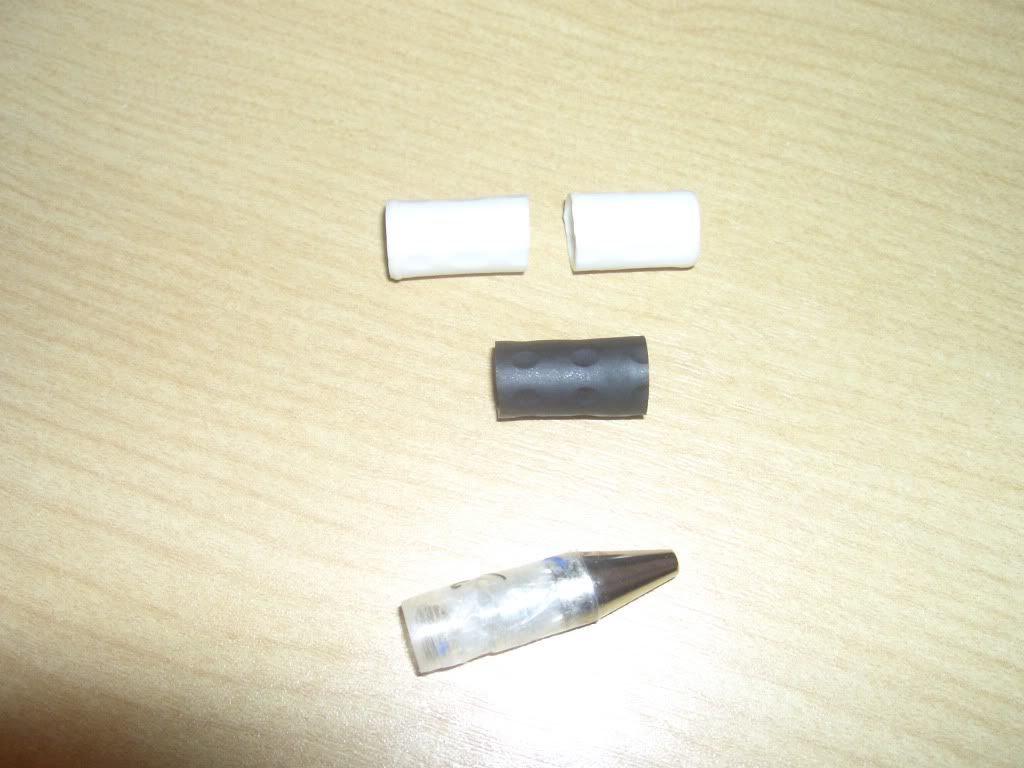
5. Now we want to finish the front. Put on half of the first HGG and slide it onto the G3 front, ring first.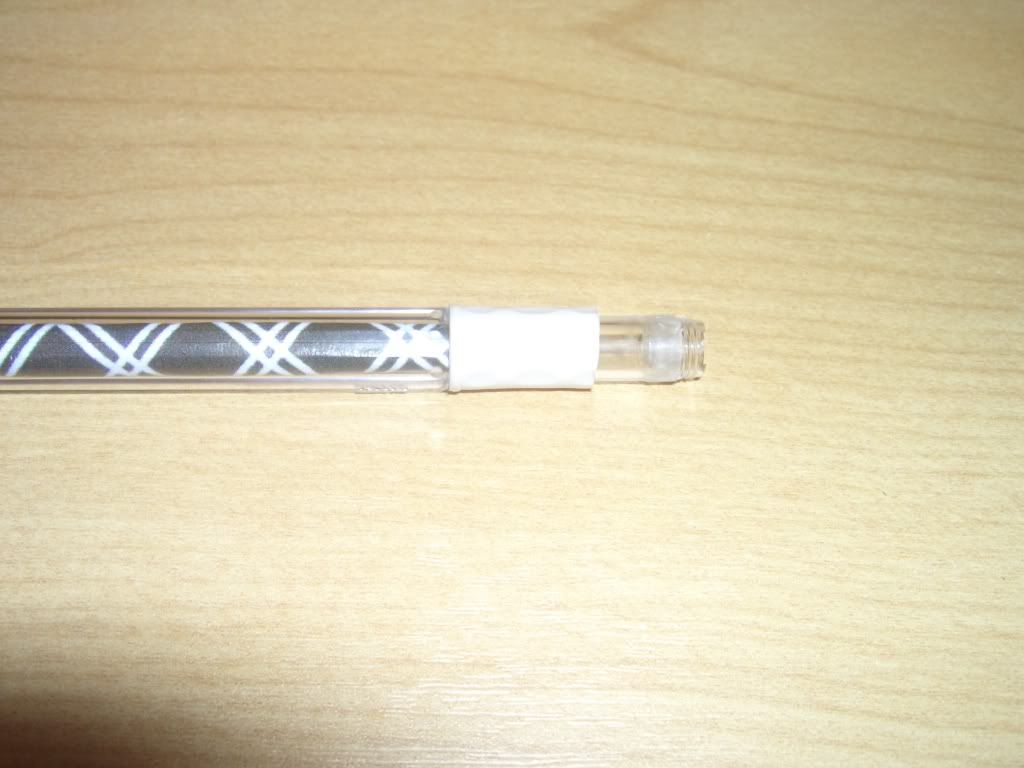
6. To finish off the front, put the last half of the HGG on the front tips. Now slide on the RSVP part onto the back of the tips and hanging off.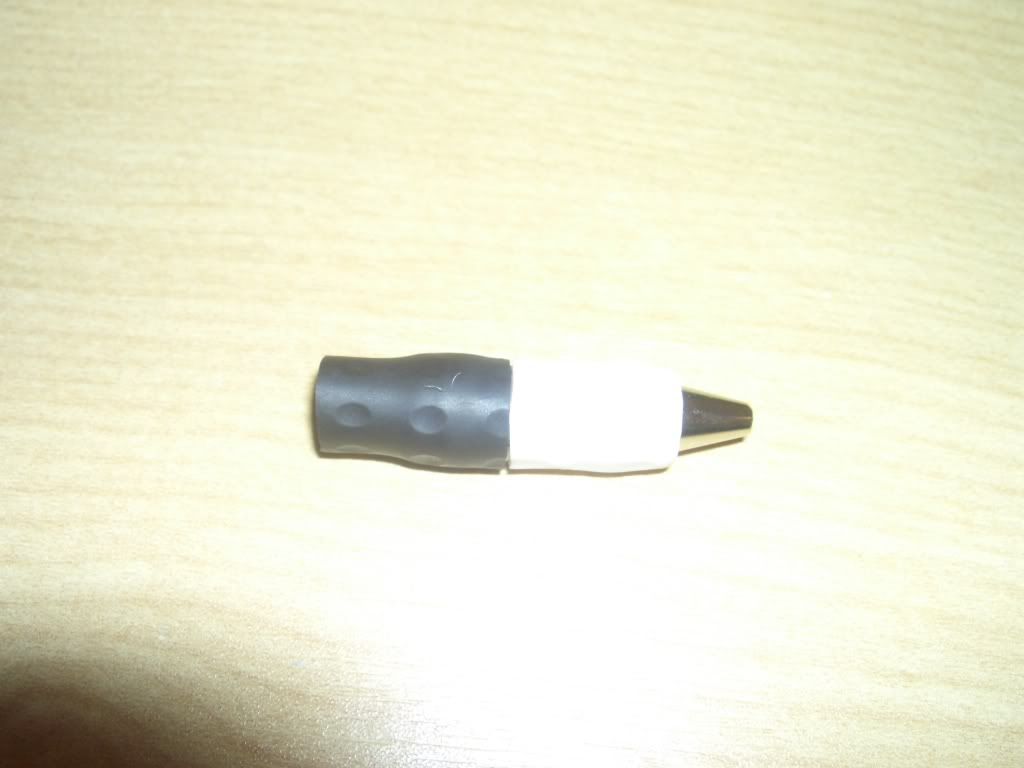
7. Slide it onto the front off the HGG and screw the tip combo to the front. Now you have finished the front
8.The back cap is really easy. Throw in the signo then the second HGG (PS, I use paper too for style). You'll have to cut the HGG to your needs.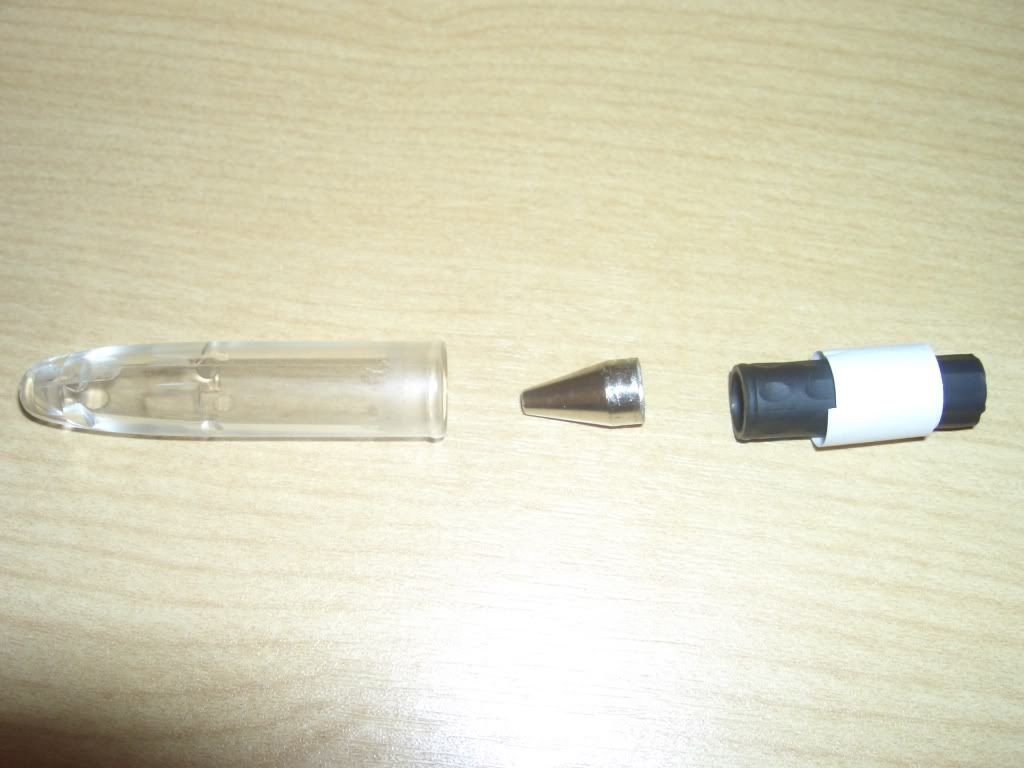
9. Put the cap on and you've finished.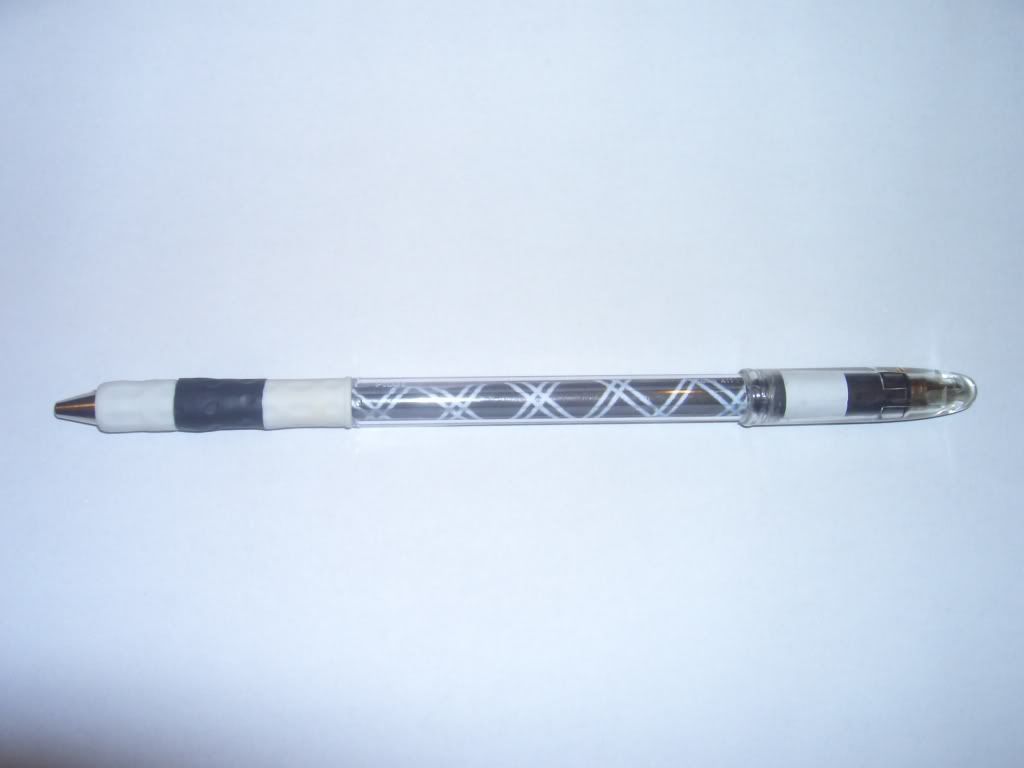
-
Date: Fri, Oct 23 2009 23:09:59
Front looks kind of messed up and a bit long imo.
-
Date: Sun, Nov 1 2009 21:34:26
kinda ugly...
